Are you looking for a way to spruce up your dinner table without spending too much money? Well, here’s the perfect solution: decorate your own table placemats with art! This 2023 guide is packed with creative ideas and inspiring projects to help you create completely unique placemats for your dining area. Let’s get started!
Benefits of Decorating Table Placemats
Table placemats are a great way to make any meal more festive, stylish and fun. Not only do they bring color into the room but they can also express your individual style. Decorating a table placemat with art not only adds to its charm, it’s a great way to show off your creative flair. Using art means that you can customize the design for whatever occasion you like or simply make it unique for the individual or persons who will be using them on the day.
Not only does personalizing table placemats make them look different from store-bought versions but there are a few other benefits such as:
- Increased durability: By using materials like vinyl and adhesive paper, decorating your own table placemats offers better protection against harsh elements that could cause damage and staining over time. This ensures that your design lasts longer.
- Style personalization: You are free to choose any artwork or design you like when decorating your own table placemat allowing you to customize each one according to individual preferences and needs.
- Cost effective: Doing it yourself allows you to keep costs low while having more control over what goes into making each piece which often results in higher quality material with less effort and money.
Step-by-Step Guide to Decorating Table Placemats

Making and decorating your own table placemats is a great way to add some personality to your dining room or kitchen. You can customize them to fit any theme or occasion, and the best part is that you don’t need any special tools or supplies—just a little imagination. Below is a step-by-step guide to making and decorating your own table placemats.
- Measure Out Materials: The first step in making your table placemat is measuring out all materials needed for the project. A great material to use for this purpose is fabric, which can be found in many home décor stores or even online. Once the fabric has been cut into appropriate sizes, it should be ironed flat with an iron set on medium heat setting.
- Create a Template: Once the fabric has been measured and ironed, it’s time to create a template that will indicate where art should be placed on the placemat. This can be done using cardstock paper, marker pens, and scissors.
- Add Artwork: After creating the template with artwork of choice, place it onto the center of the fabric with glue sticks and let it firmly set for fifteen minutes before removing any excess glue with an absorbent cloth or paper towel depending on how much of a mess has been made! Once done adding artwork, lightly spray with fabric glue onto the top portion of cloth before carefully brushing it until all areas have been covered evenly (except around edges). Let this dry!
- Finishing Touches: After finishing all artwork details onto cloth pieces they must now be sewn together using embroidery thread—use either hand sewing techniques in crisscross patterns over edges OR sewing machine if available (recommended). Finally add fringes around edges using remaining thread—cut strings slightly longer than necessary so they won’t fray easily and tie loose ends together near the back side but avoid tying them near tips so fringes won’t get snags when used later! Now enjoy these beautiful pieces after letting them dry for 24 hours minimum before putting them on display!
Creative Ideas for Decorating Table Placemats

They are a great way to add visual interest to any dining table. They can be used to create an inviting atmosphere and enhance any decorative style you have chosen for your dining area. They have the potential to instantly brighten up your dinner table and provide a unique creative outlet for expression.
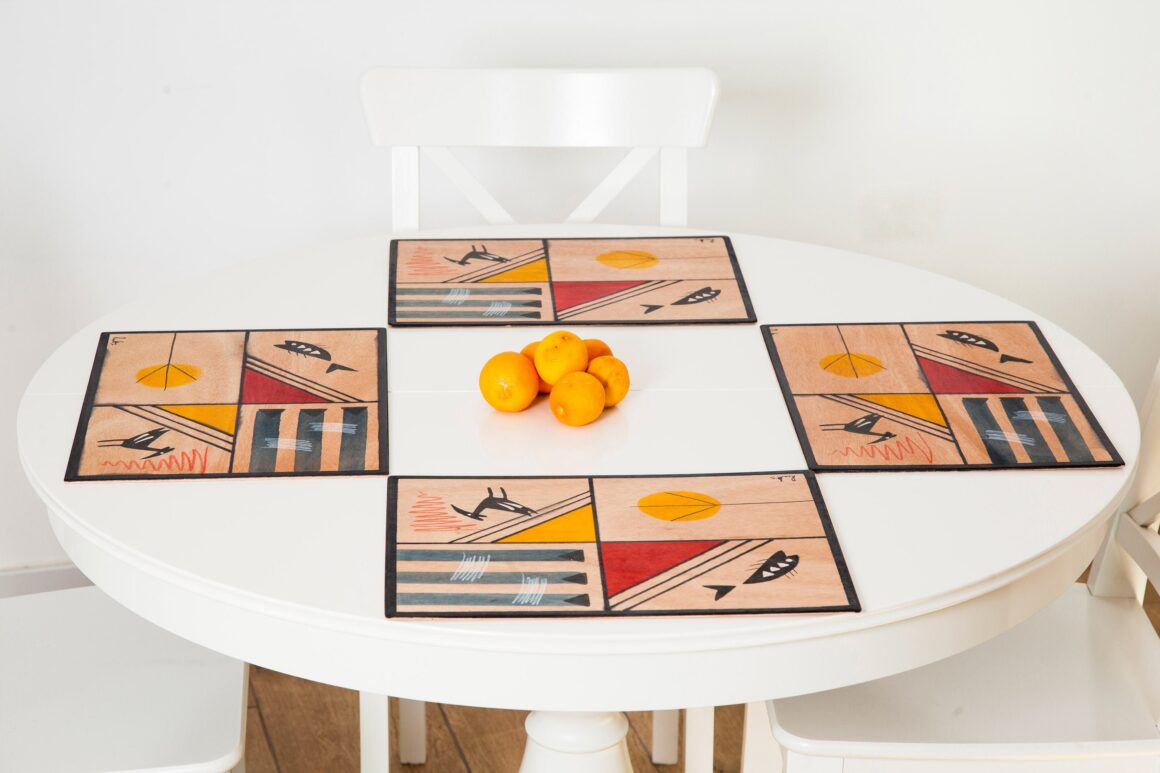
A great way to get creative with them is by using them as craft surfaces. Use fabric markers, foam sheets, paints or other materials to decorate the placemats in an array of colors and designs. Personalize or customize each one as you see fit or create a uniform look. If paint is used, consider mixing colors and different shades of textures and fabrics for an interesting look or use stencils for various shapes or patterns that contact the theme of your dining area.
When using fabric markers, keep in mind that the markers won’t turn out in color until after they have been ironed so make sure that all pieces are clearly labeled before starting your project so that they are not mixed up when displayed on your dinner table!
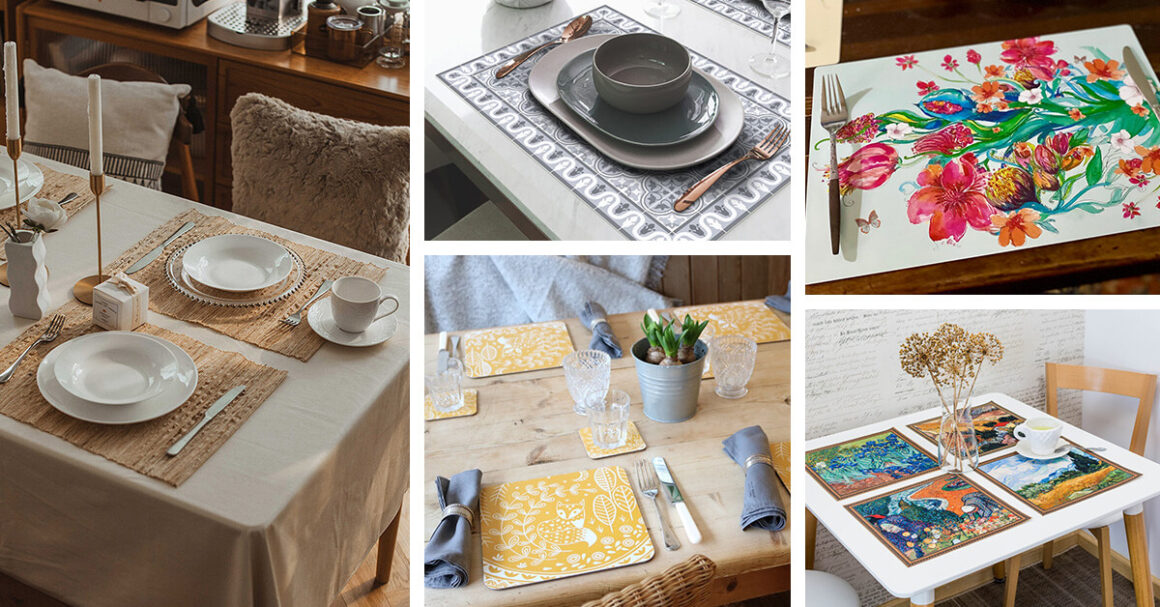
For added texture, think about incorporating ribbon, lace, beads or trinkets into the design process as they help add dimension and character while also providing color variation. Mix-and match different fabrics; select solid colors on one side and graphic prints on the other side! They can also be embellished with letter stickers which will allow you to write guest names underneath their mats at dinner parties bringing a personalized touch to each place setting!
Conclusion

The best part about decorating your own table placemats with art is that you can let your creativity shine and add a personal touch to each piece. The possibilities are endless: you might choose to create a unique design, use words to express your favorite mantra, or an image of something that holds special meaning. You could stick to one medium like calligraphy, or use various mediums like paint pens and brush lettering to make something completely unique.
Whichever method you choose, the most important thing is that your placemats become an expression of whatever inspires you. So, gather your supplies and unleash your imagination; sit down with some tea and paintbrushes, or ink pens and paper – let your ideas lead the way! Your finished product will not only be attractive but also have its own story – one that will be shared around the family table for years to come.


